◎概要
XNAでは、実行中の画面をファイルに保存するコマンド(メソッド)は存在しない。
もちろん、PrintScreenキー(ハードコピーキー)を押して画像ソフトで保存したり、専用のツールを使用すれば画面ハードコピー(スクリーンショット)は取得できるが、通常は手作業が発生する。
ゲーム開発においては、これを手作業なしで自動的に行うツールが欲しくなることがある(加工/合成したCG画像を大量に取得したい場合や、キャラを一定角度で回転させた画像を連続的に取得したい場合など)。
本稿では、そういった開発支援ツール等の作成を可能とするために、サンプルコードを掲示する。
◎使用ツール
◎サンプルコード
using
System;
using
System.Collections.Generic;
using System.Linq;
using
Microsoft.Xna.Framework;
using
Microsoft.Xna.Framework.Audio;
using
Microsoft.Xna.Framework.Content;
using
Microsoft.Xna.Framework.GamerServices;
using
Microsoft.Xna.Framework.Graphics;
using
Microsoft.Xna.Framework.Input;
using
Microsoft.Xna.Framework.Media;
using
Microsoft.Xna.Framework.Net;
using
Microsoft.Xna.Framework.Storage;
namespace
ScreenShotSample
{
///
<summary>
/// This is the main type for your game
///
</summary>
public
class
Game1 :
Microsoft.Xna.Framework.Game
{
GraphicsDeviceManager
graphics;
SpriteBatch
spriteBatch;
// キーボード状態の宣言
KeyboardState
keyboardState;
// レンダーターゲットの宣言
RenderTarget2D
renderTarget;
// キャプチャテクスチャの宣言
Texture2D
capturedTexture;
// セーブフラグの宣言
bool
saveFlg = false;
public
Game1()
{
graphics =
new
GraphicsDeviceManager(this);
Content.RootDirectory =
"Content";
}
///
<summary>
/// Allows the game to
perform any initialization it needs to before starting to run.
///
This is where it can query for any required services and load any non-graphic
///
related content. Calling base.Initialize will enumerate through any components
///
and initialize them as well.
///
</summary>
protected
override
void Initialize()
{
// TODO: Add your initialization logic here
base.Initialize();
}
///
<summary>
/// LoadContent will be
called once per game and is the place to load
///
all of your content.
///
</summary>
protected
override
void LoadContent()
{
// Create a new SpriteBatch, which can be used to
draw textures.
spriteBatch =
new
SpriteBatch(GraphicsDevice);
// TODO: use this.Content to load your game
content here
// レンダーターゲットを作成する
renderTarget =
new
RenderTarget2D(
graphics.GraphicsDevice,
400, 200,
1,
SurfaceFormat.Color
);
}
///
<summary>
/// UnloadContent will
be called once per game and is the place to unload
///
all content.
///
</summary>
protected
override
void UnloadContent()
{
// TODO: Unload any non ContentManager content
here
}
///
<summary>
/// Allows the game to
run logic such as updating the world,
///
checking for collisions, gathering input, and playing audio.
///
</summary>
///
<param name="gameTime">Provides
a snapshot of timing values.</param>
protected
override
void Update(GameTime
gameTime)
{
// Allows the game to exit
if (GamePad.GetState(PlayerIndex.One).Buttons.Back
== ButtonState.Pressed)
this.Exit();
// TODO: Add your update logic here
// キーボード状態の取得
keyboardState =
Keyboard.GetState();
// ESCキーで終了
if (keyboardState.IsKeyDown(Keys.Escape))
Exit();
base.Update(gameTime);
}
///
<summary>
/// This is called when
the game should draw itself.
///
</summary>
///
<param name="gameTime">Provides
a snapshot of timing values.</param>
protected
override
void Draw(GameTime
gameTime)
{
GraphicsDevice.Clear(Color.CornflowerBlue);
// TODO: Add your drawing code here
// スプライトバッチ開始
spriteBatch.Begin();
// レンダーターゲットを変更する
graphics.GraphicsDevice.SetRenderTarget(0, renderTarget);
// グラフィックデバイスをクリア(任意の色に変更可)
graphics.GraphicsDevice.Clear(Color.Gray);
// (ここで任意の描画を行う)
// レンダーターゲットをバックバッファーに戻す
graphics.GraphicsDevice.SetRenderTarget(0,
null);
// レンダーターゲット(画面出力)から画像を取得する
capturedTexture
= renderTarget.GetTexture();
// 取得した画像を表示する(わざわざやらなくても良い。削除可)
spriteBatch.Draw(
capturedTexture,
new
Rectangle(100, 100,
500, 300),
Color.White
);
// 取得した画像をファイルに保存する
if (saveFlg ==
false)
{
capturedTexture.Save("TestCapture01",
ImageFileFormat.Bmp);
saveFlg =
true;
}
// スプライトバッチ終了
spriteBatch.End();
base.Draw(gameTime);
}
}
}
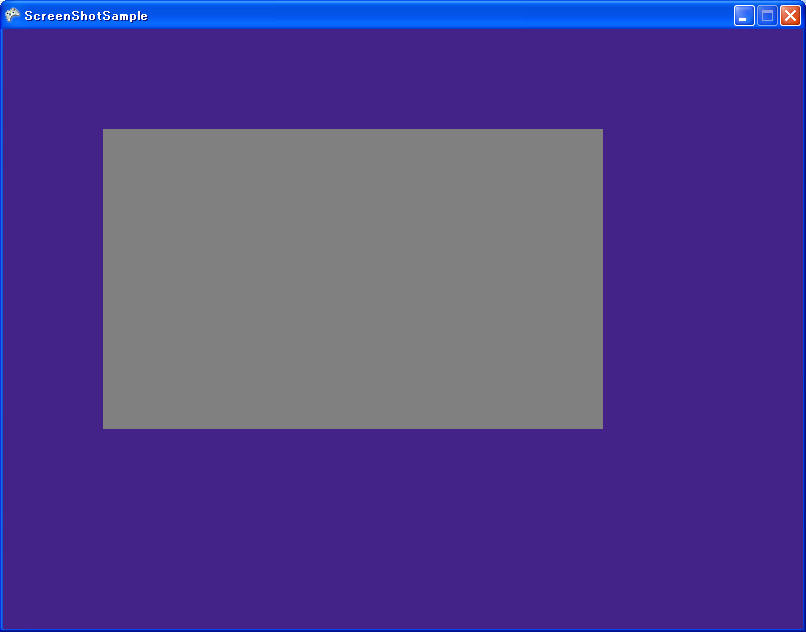
◎サンプルコードの実行結果

※サンプルコードをそのまま実行した画面
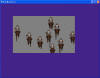
※既存のプログラムにサンプルコードを組み込んだ画面
◎サンプルコードの使用方法
// (ここで任意の描画を行う)
上記コメントの位置に任意の描画コードを追加すること。
または、既存のプログラムにサンプルコードを組み込むこと。
尚、画像ファイルは「\bin\x86\Debug」に出力される。BMP以外にもJPGやGIFなど様々な形式で出力可能。
◎サンプルコードの解説
このプログラムでは、レンダリングターゲットをバックバッファーからテクスチャに変更し、テクスチャをファイルに保存している。
レンダリングターゲットについては、こちらの記事やXNAヘルプ、またはブログを参照のこと。
2011/1/24追記
スプライトバッチの2Dテクスチャ等を表示する場合は、スプライトバッチをネストさせること。
→SpriteBatch.End()が呼び出されないとスプライトの描画が始まらないので、レンダーターゲットをバックバッファーに戻す前にSpriteBatch.End()を呼び出す必要がある